This is a wiki feel free to add/change as you want by editing the original post
If you want to build yourself a rack you may want a couple things
- Rails
- Wood/Metal frame
- Screws/Brackets
- Wheels (optional if you want it to roll)
- Pair of 1u shelves (optional but helps keep spacing even)
- Power
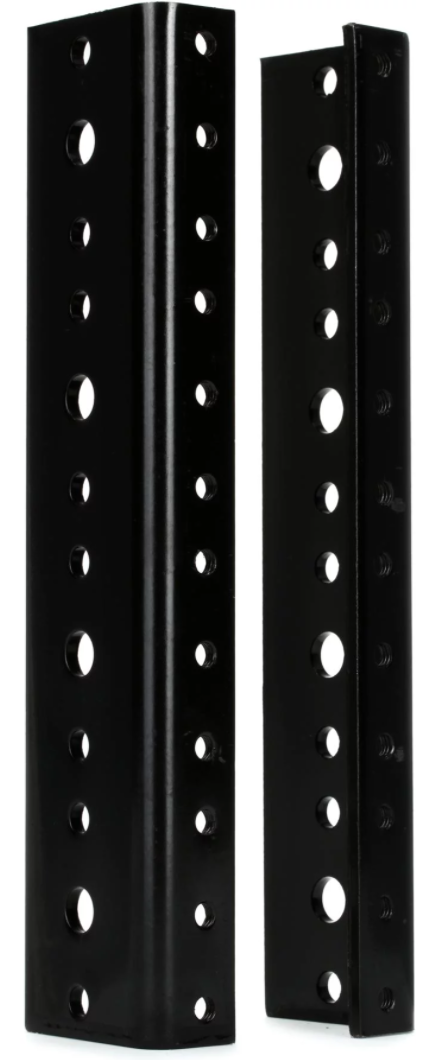
Rails
- NavePoint - ebay rails | the screws needed a drill to go in | I’m sure there are better rails out there
Frame
-
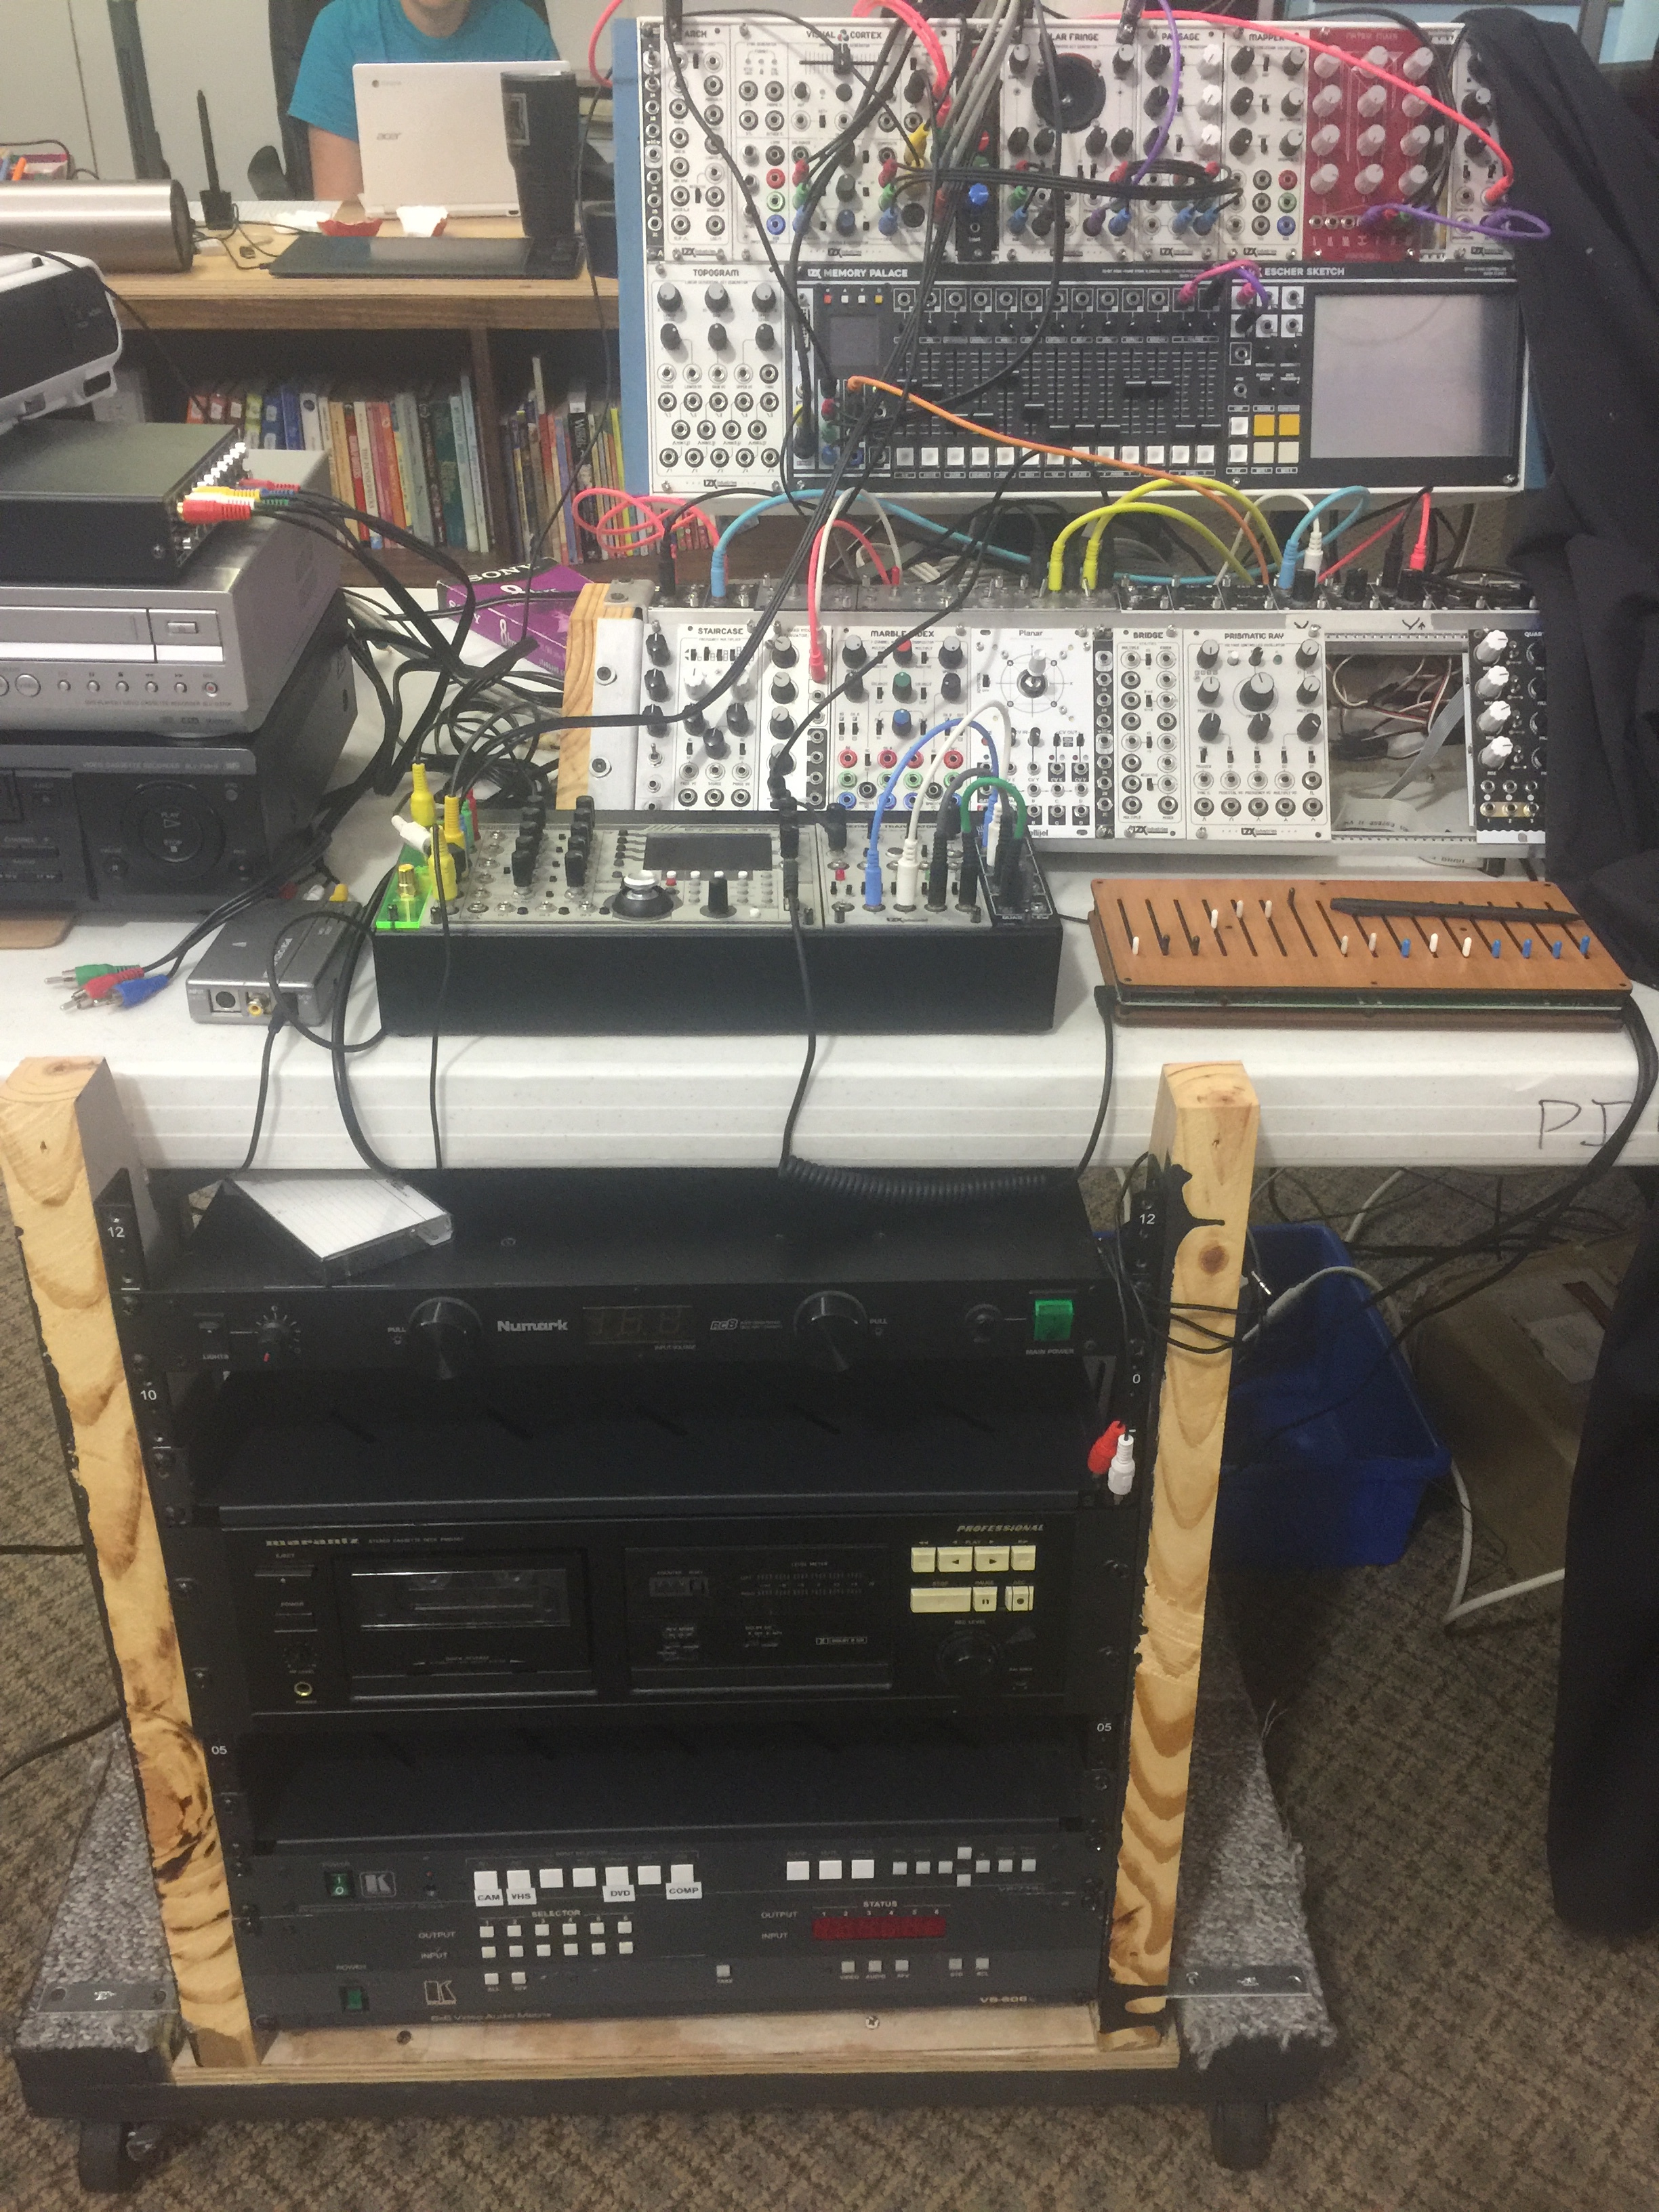
Wood is cheap and easy to work with we happened to have scraps around that worked perfectly. We used 2x6s cut at an angle so that the rack leans back slightly. Those 2x6s were screwed up into a 3/4 piece of plywood. This plywood+side&rails piece was put onto a simple 4 wheel rolling cart and screwed down into its frame.
-
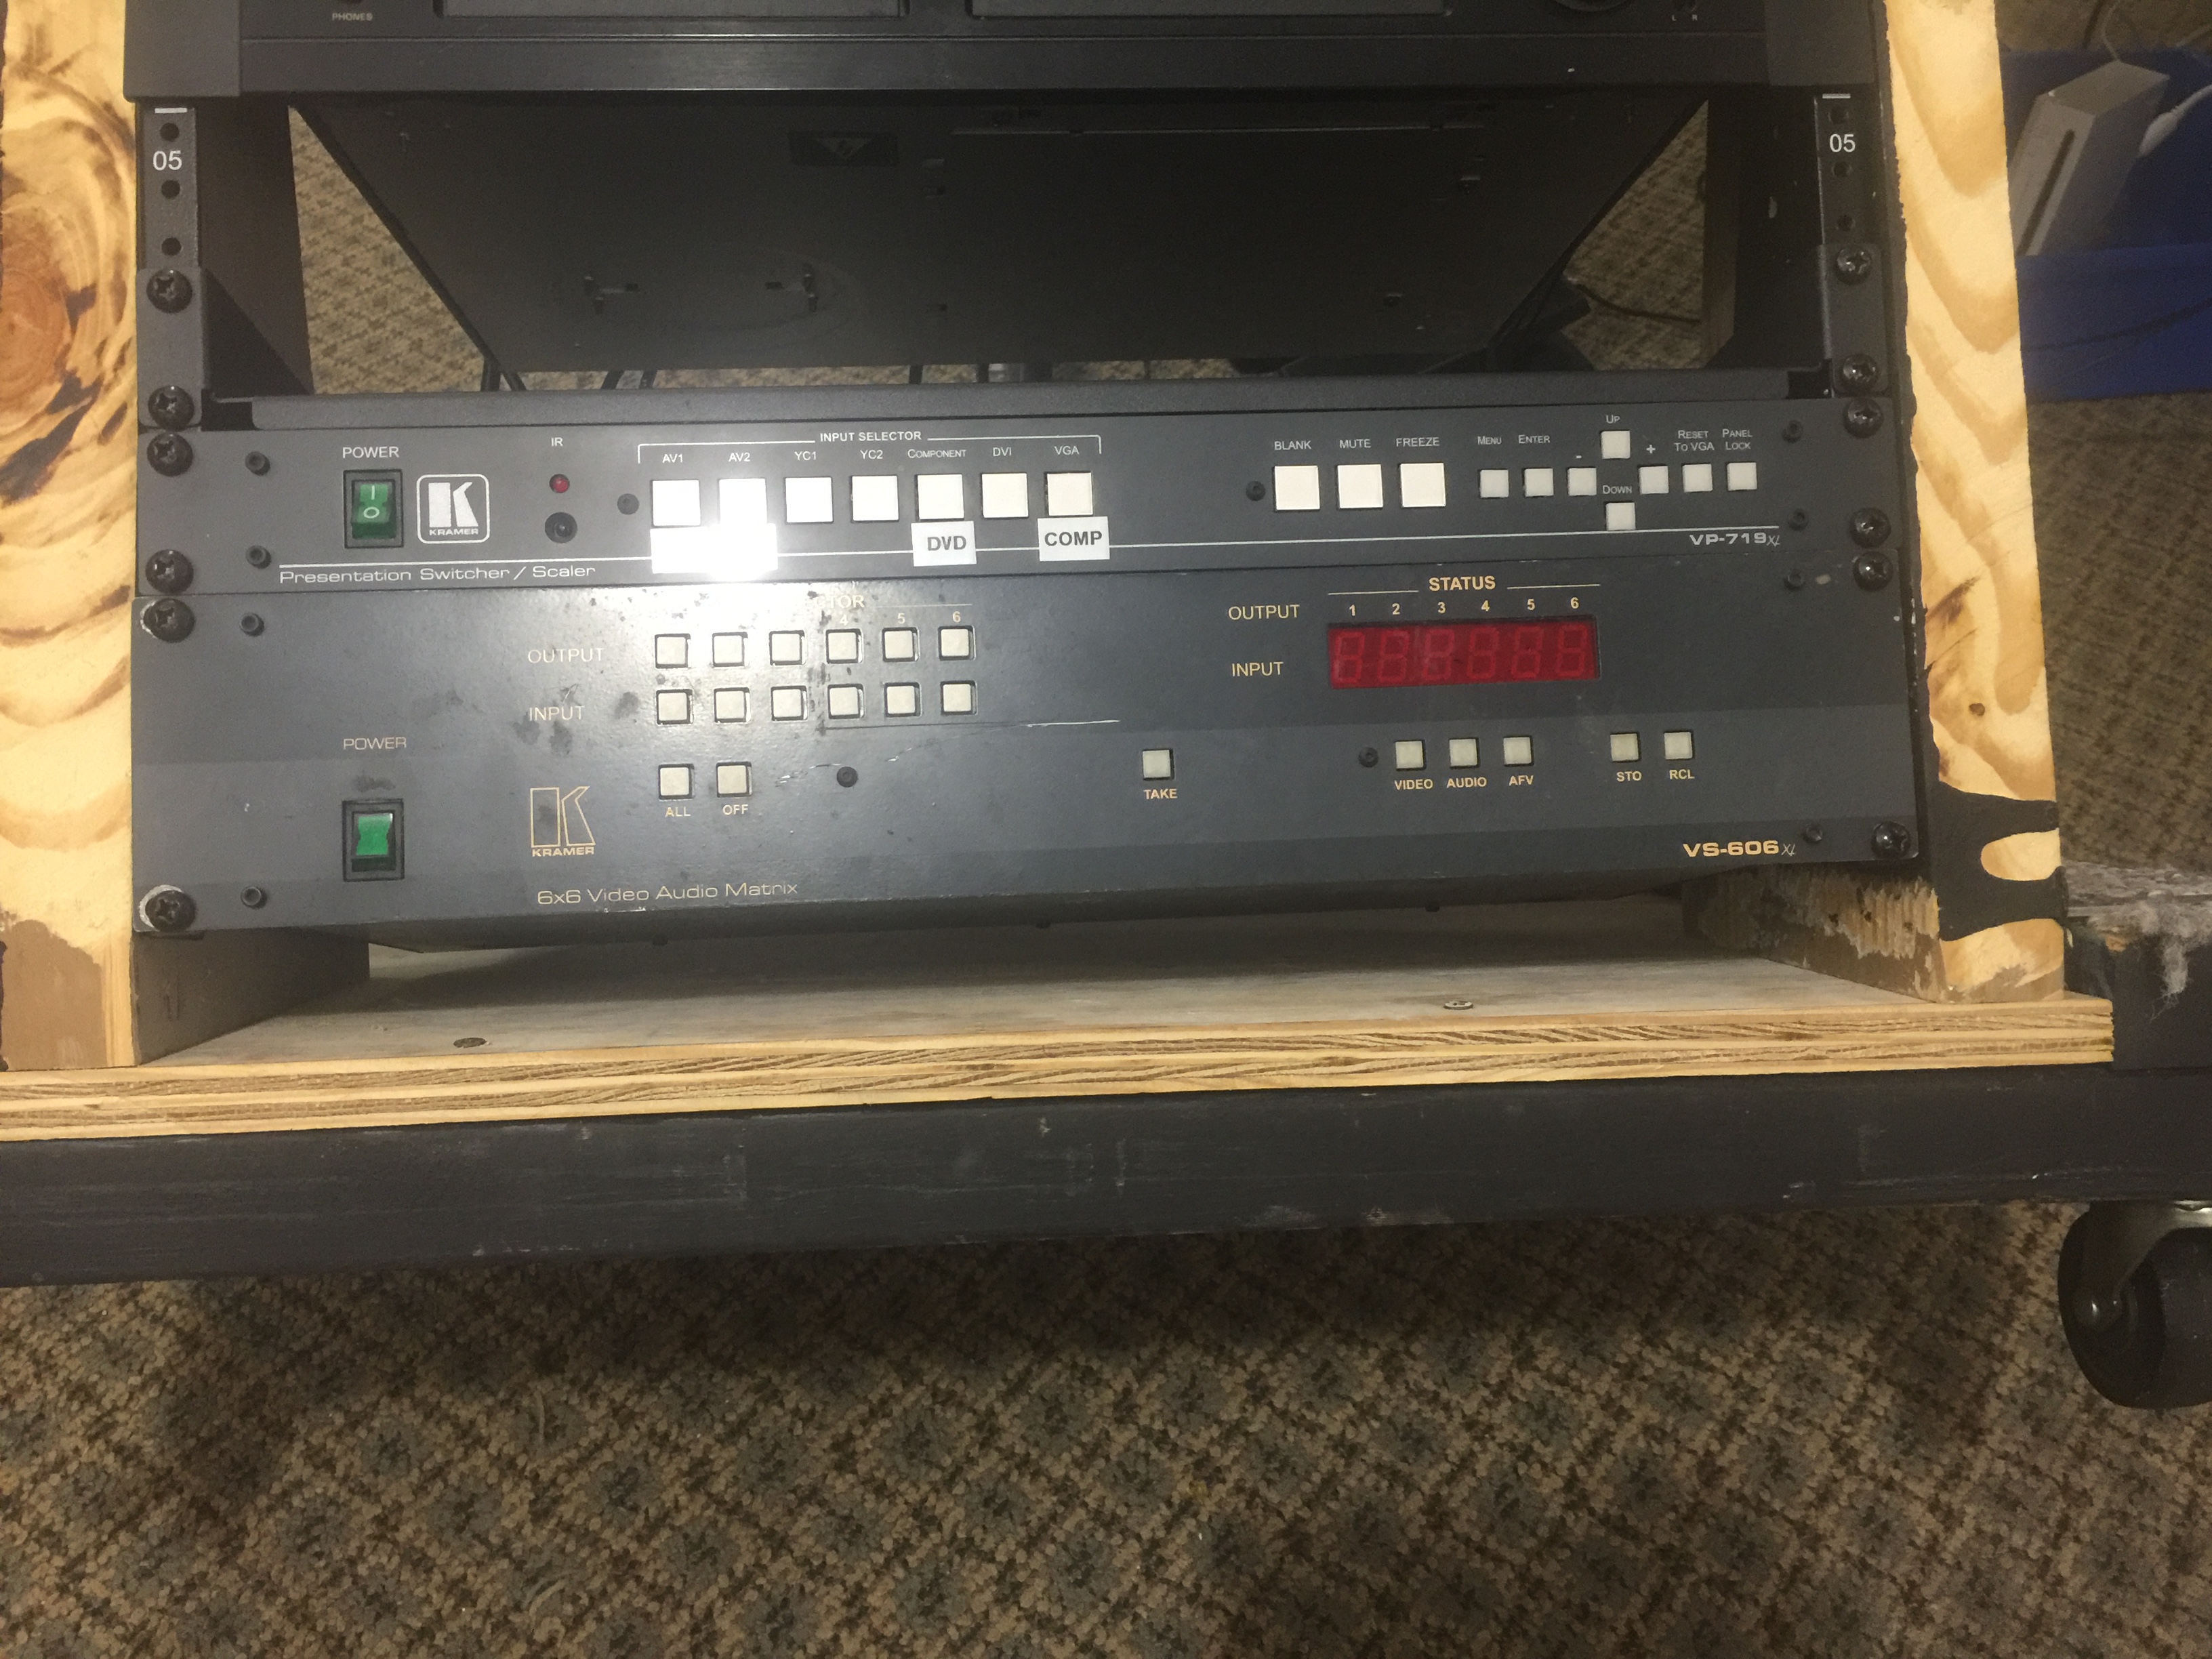
If you want the leaned back feel remember to install your rails themselves up higher off the bottom of your enclosure. That way even if you have a longer piece of gear at the bottom of your rack it won’t hit the bottom and plugging in cables won’t be an issue.
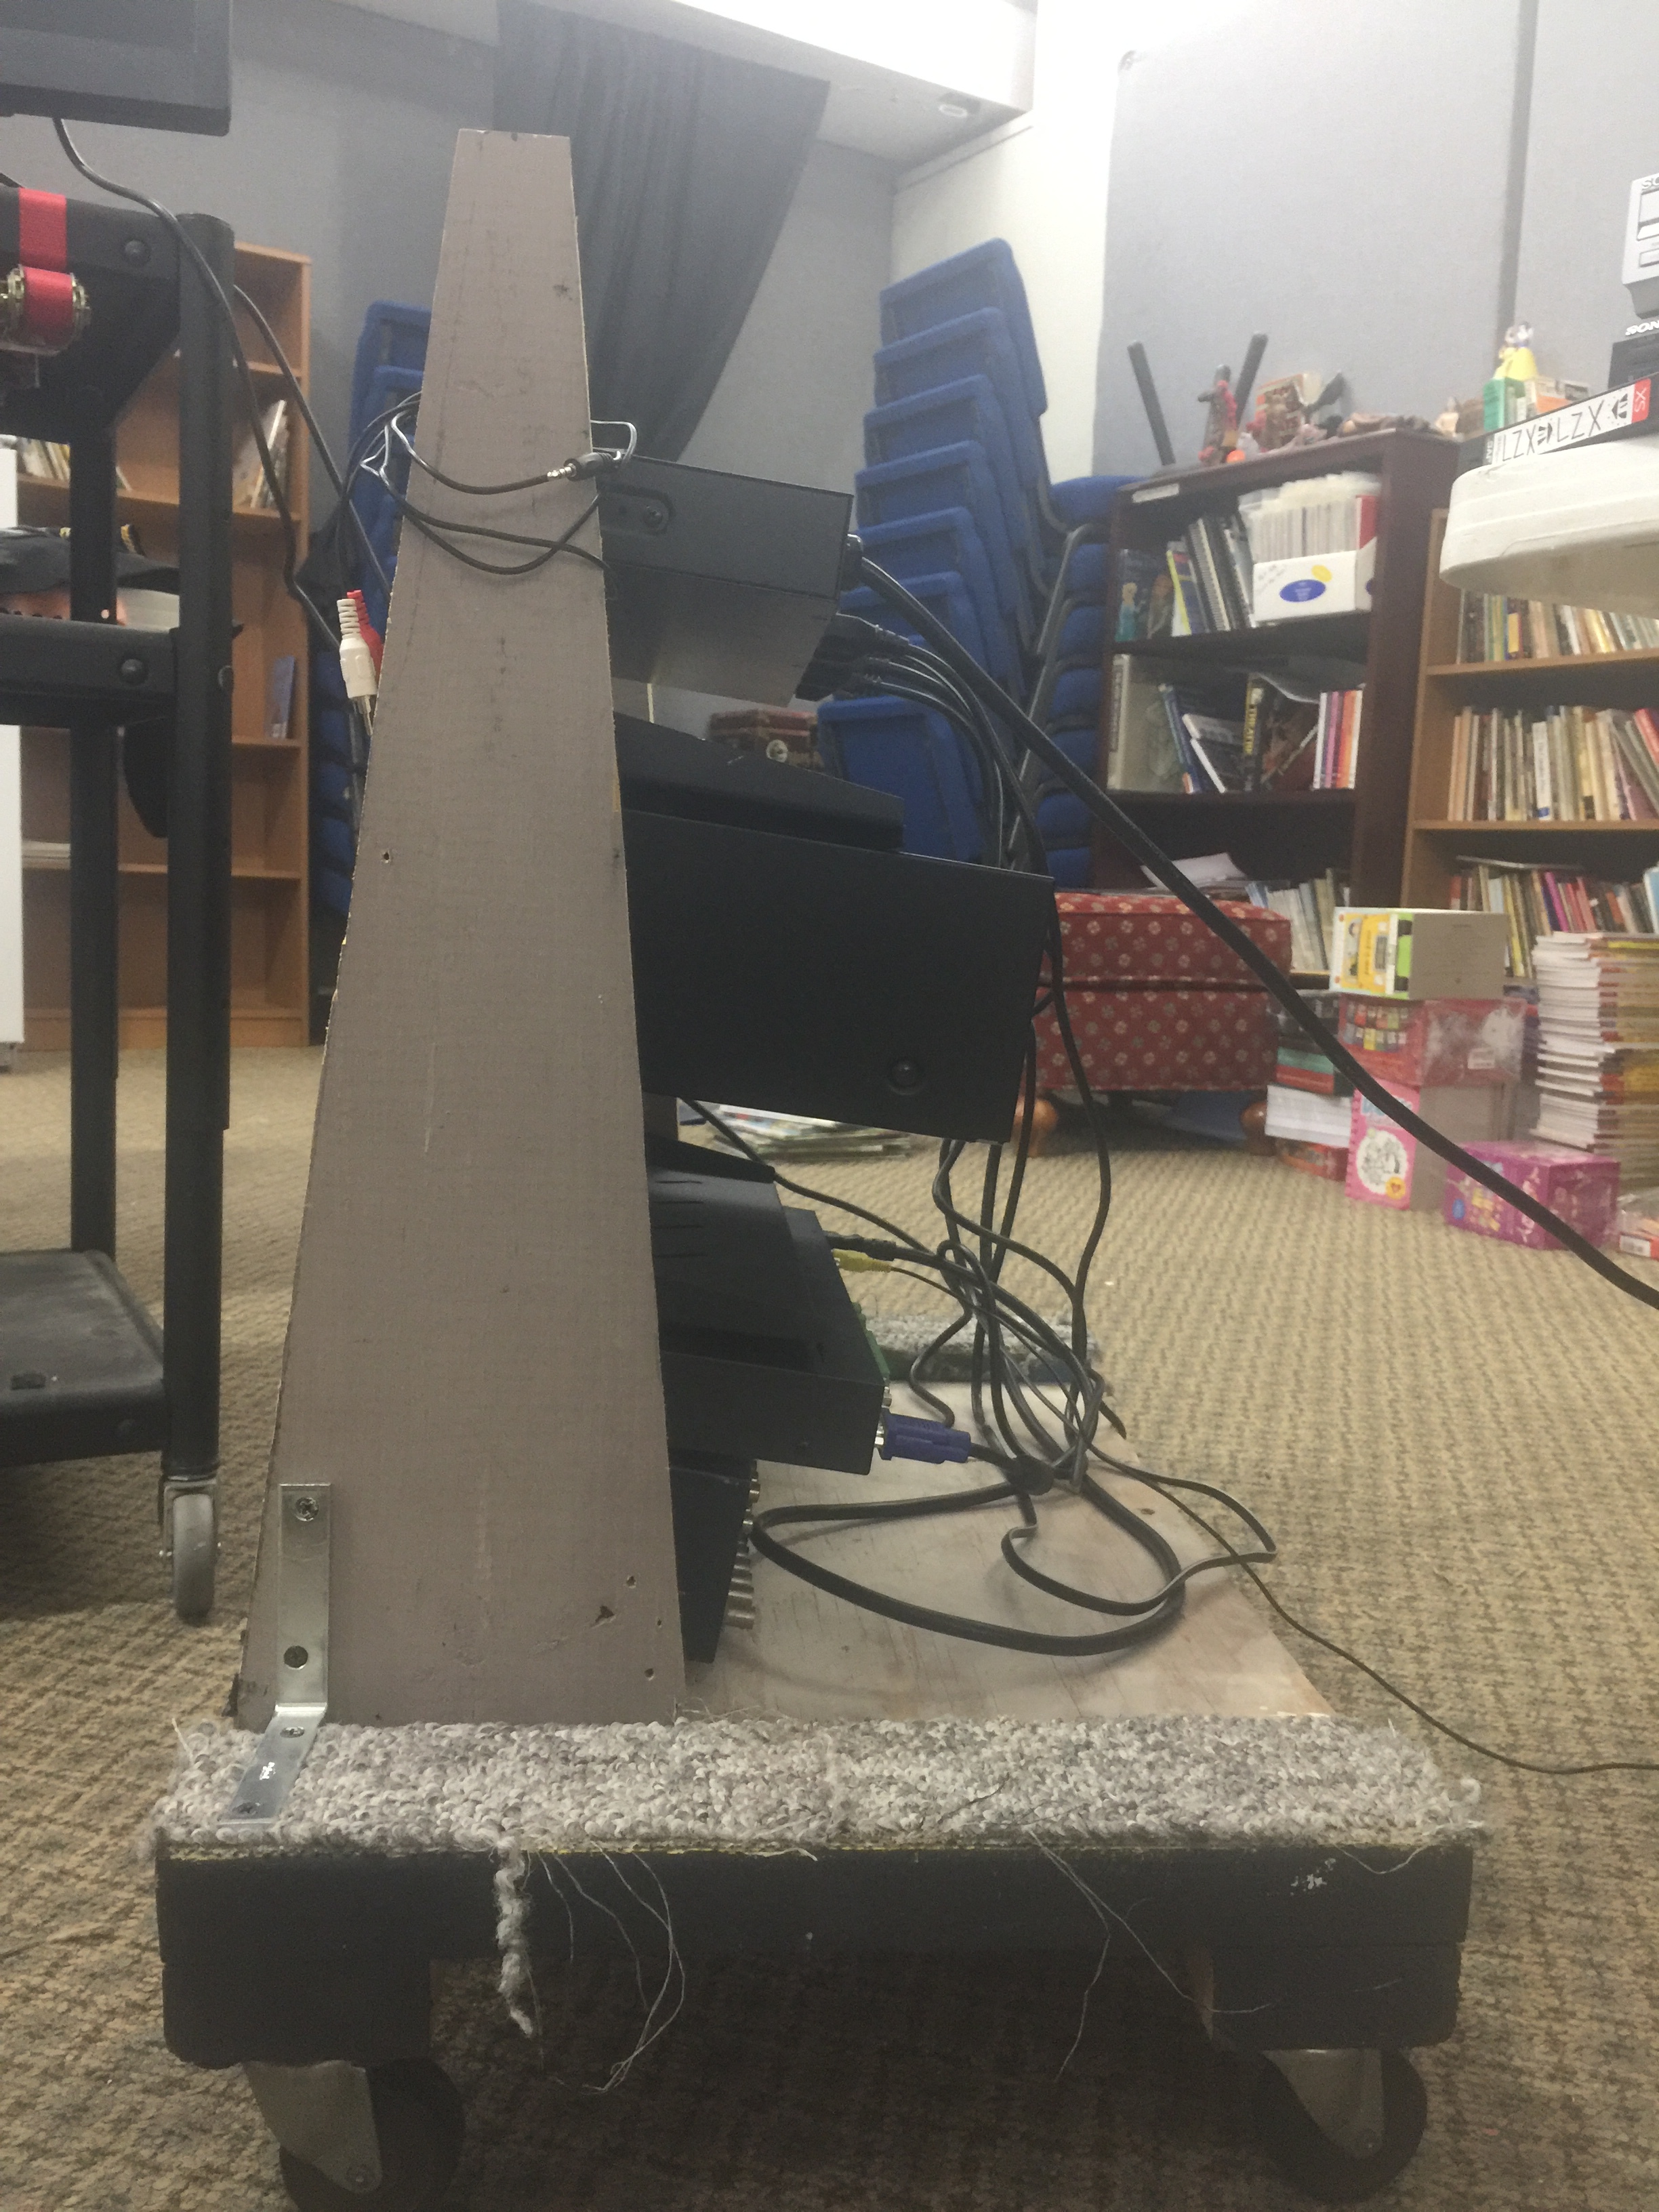
Screws/brackets
- Making sure you have screws that are the appropriate size is always important.
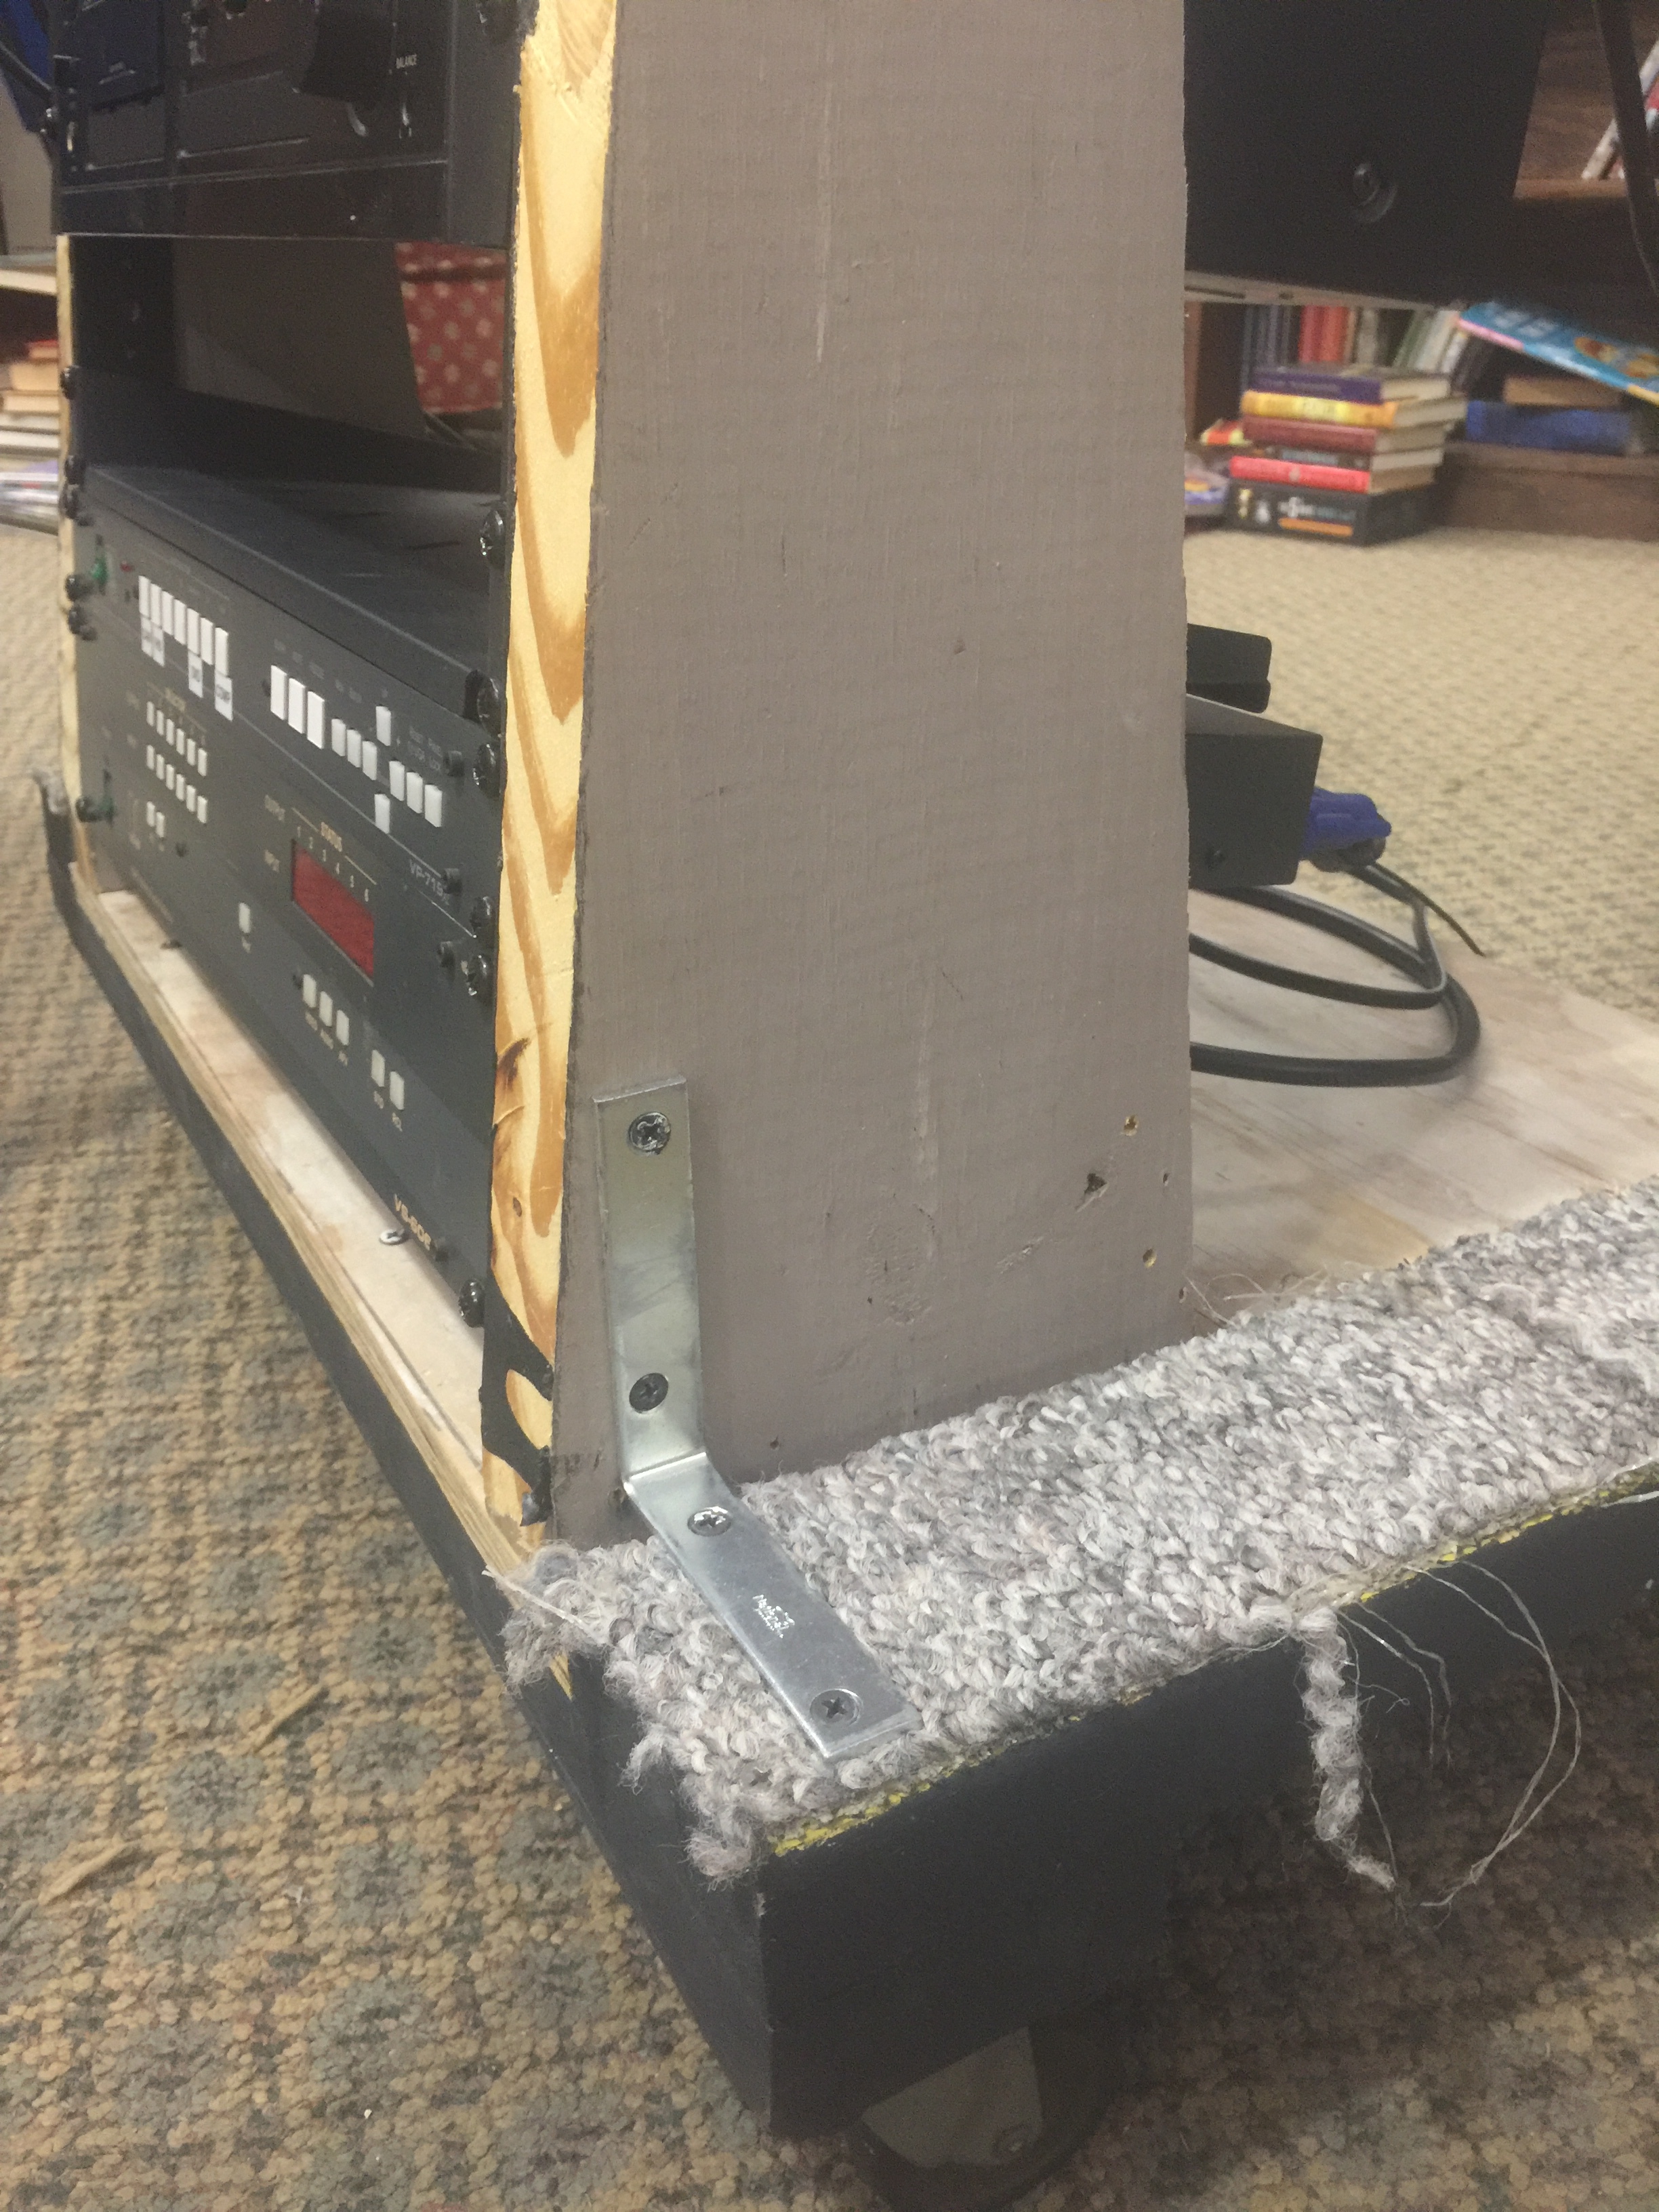
- If you are making a rack over 10u I’d put some metal brackets that connect the rail sides to the frame of your cart/bottom of the enclosure. These give extra side to side stability where the other screws are mostly stronger in a back & forth motion.
Wheels
- Always give yourself plenty of wiggle room when figuring out how much weight you need your casters to hold.
- Don’t forget to get a couple casters that are locking if you want to be able to keep it in one place easily.
- Also remember to leave yourself enough room with wheel included to go under your desk/table space if that is what you are after.
– I was a little off because of not taking the lean back&lift into account when planning so the top 1u space may not be able to get used while under our tables. With this design it is nice to have the angled wooden side pieces press against the side of the table for additional support.

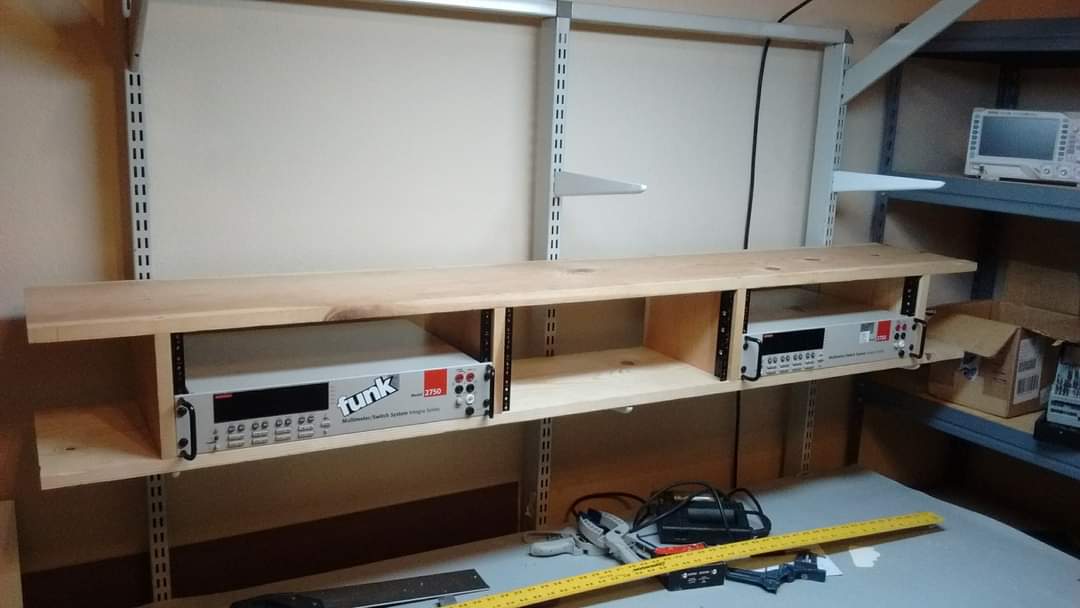
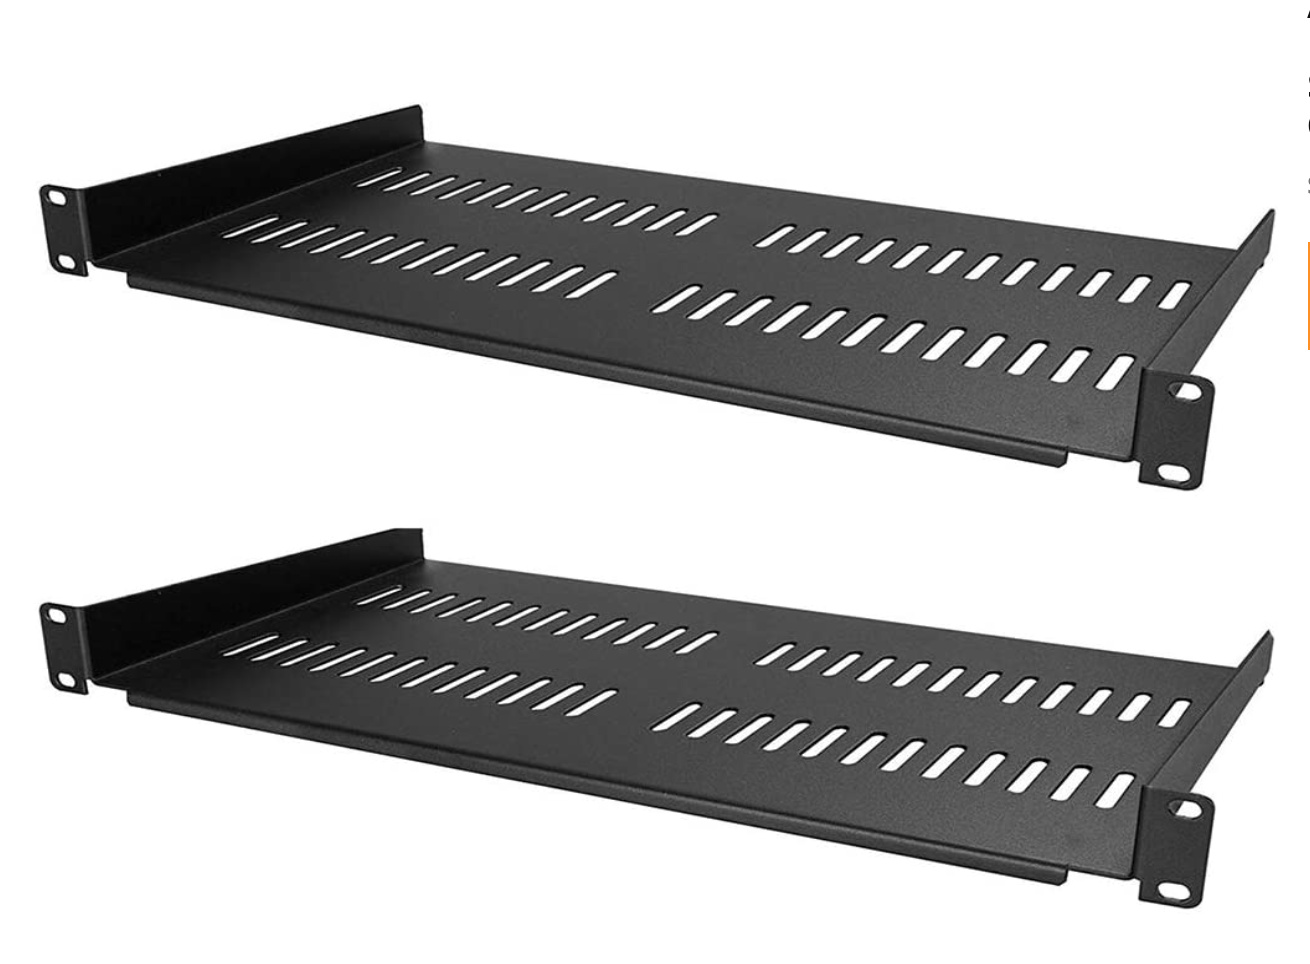
Shelves
- These 1u shelves were useful when putting together the rails initially.
Install a shelf on the top and bottom of the rails then screw your rails onto your frame. Having the shelves installed (even though they will most likely not end up there) helps to ensure even distance between the rails from the top to the bottom of your rack.
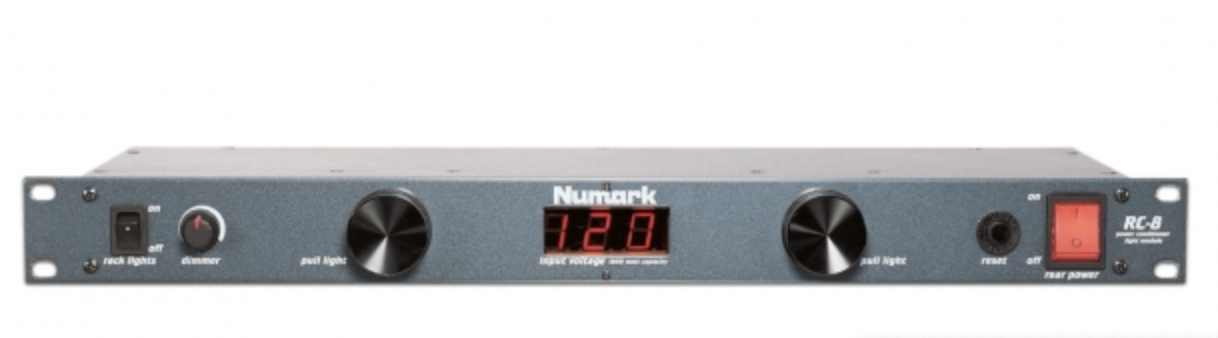
Power
- Numark RC8 this kind of rack mount power conditioner can be nice you could also just mount a power strip along the back or inside the enclosure.
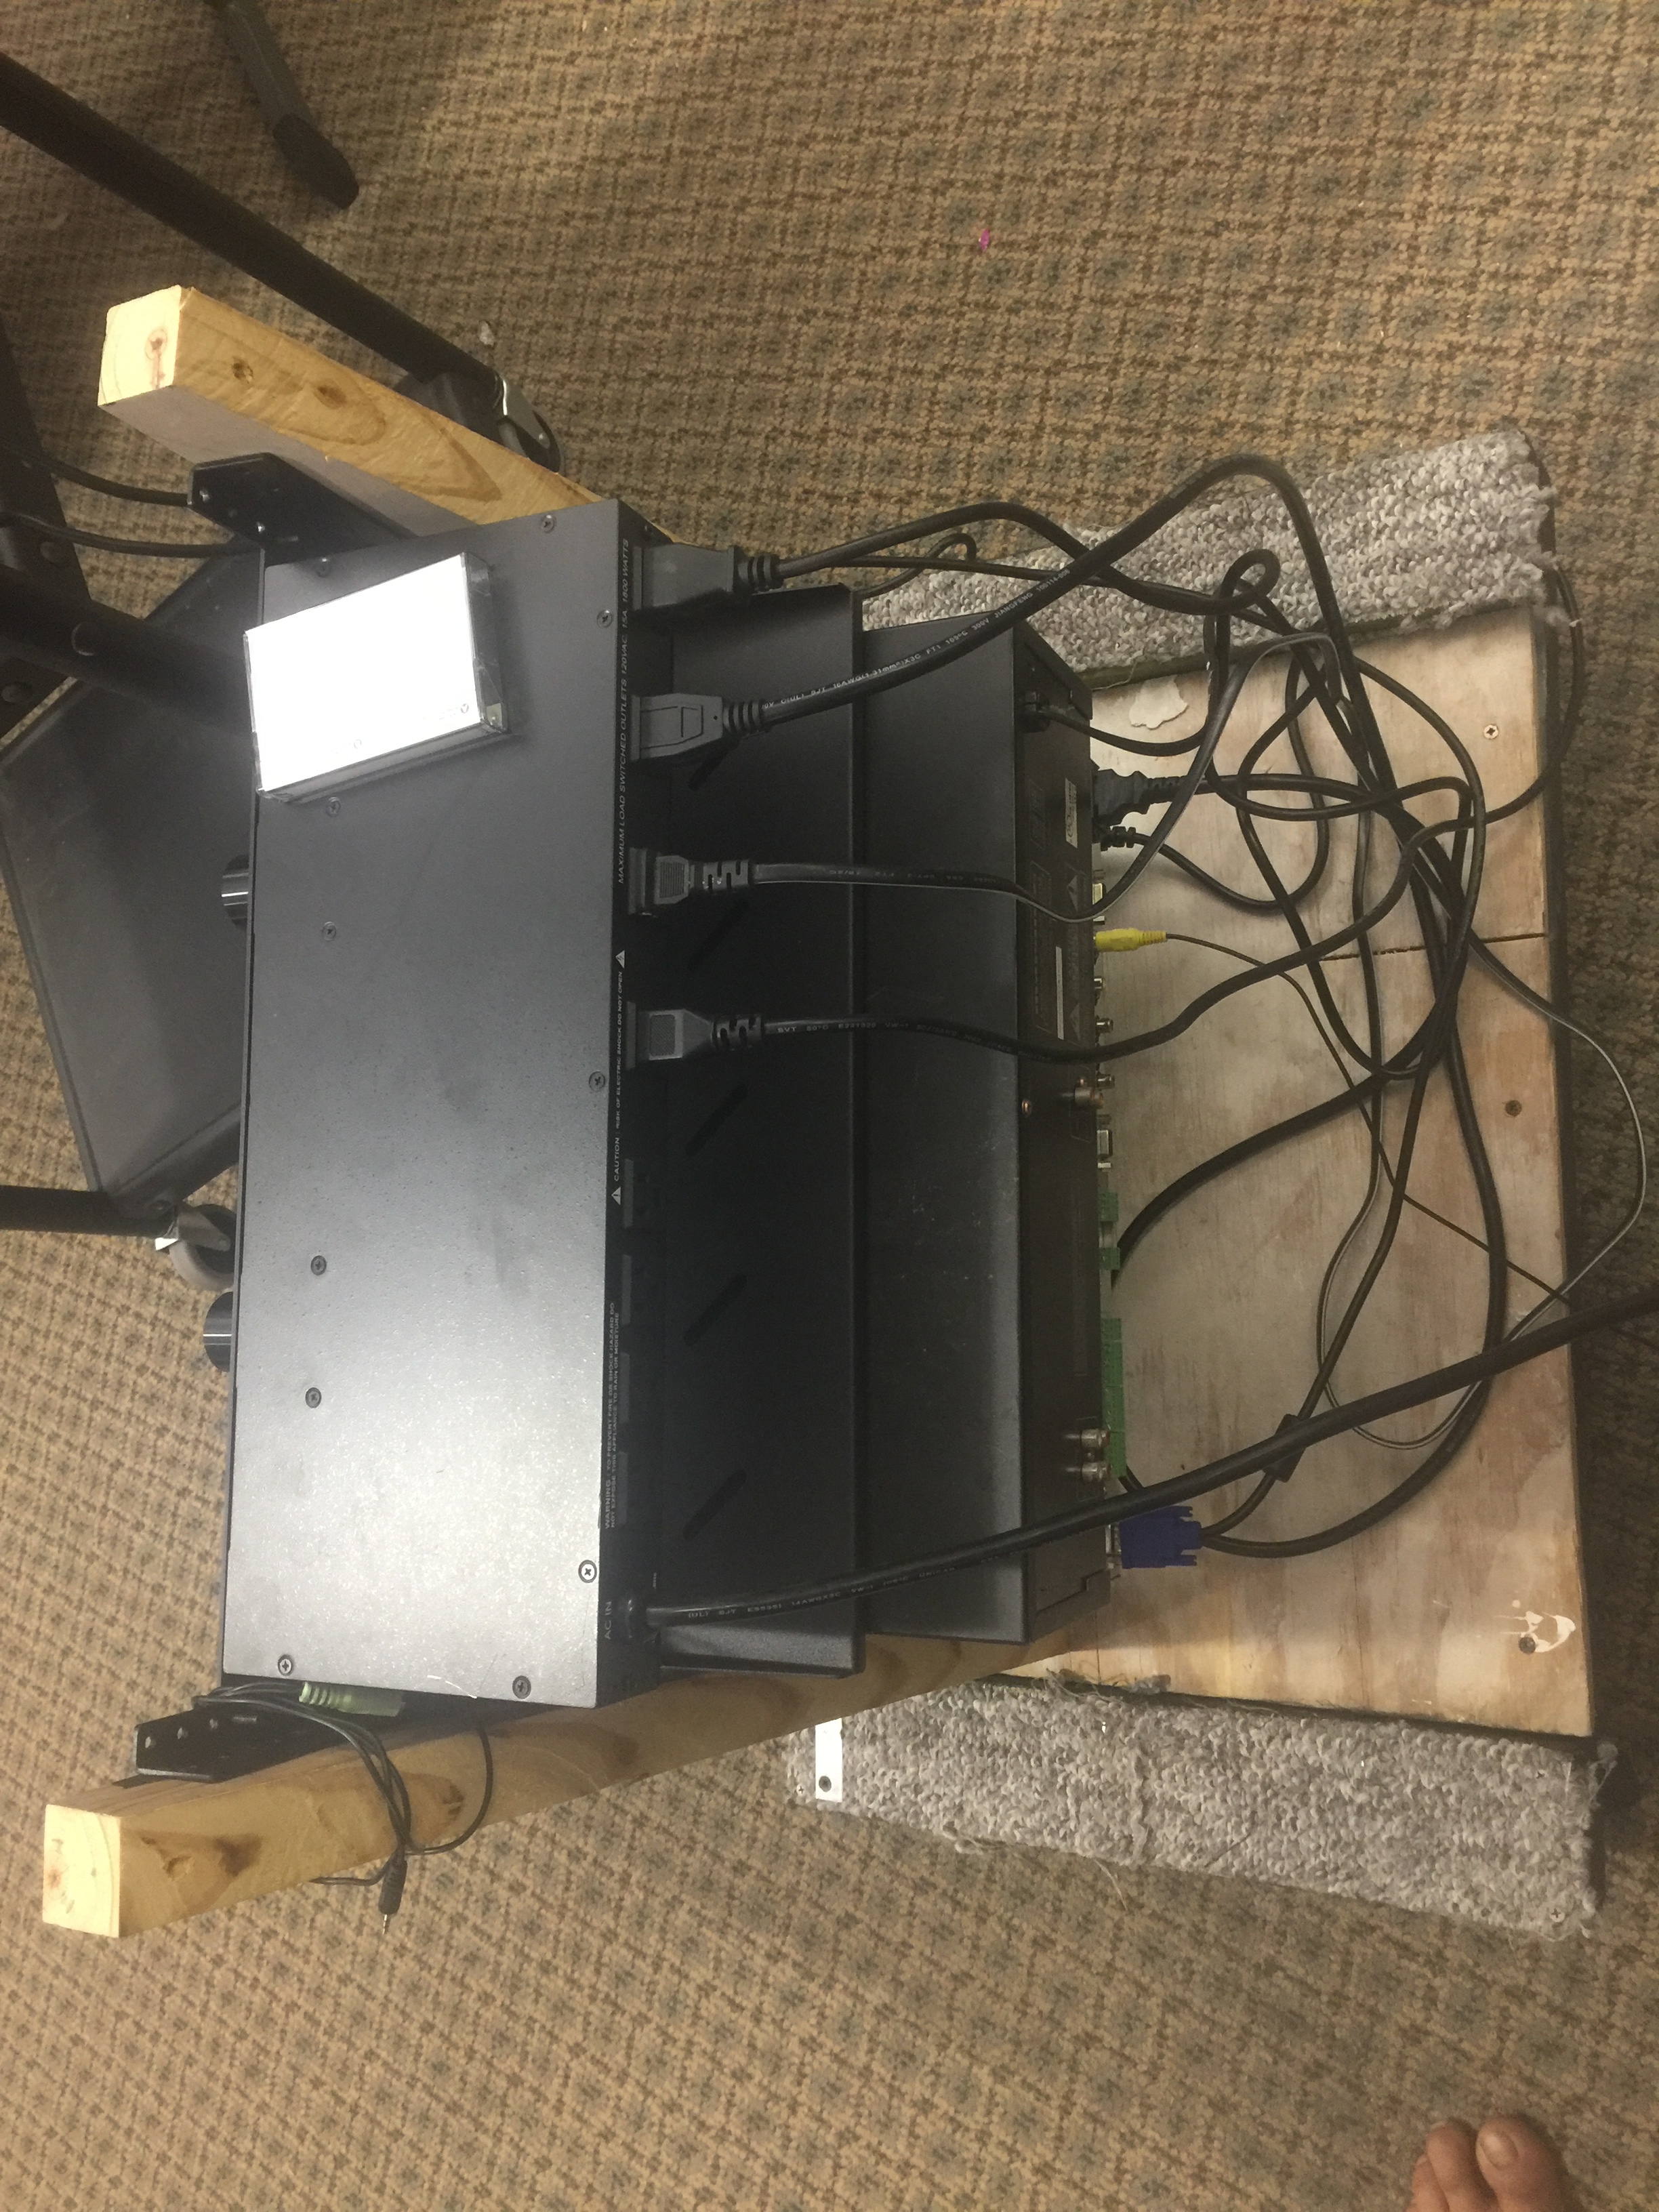
among the system
- make sure to run through and test your inputs and outputs before really getting everything hooked up to the system so that you don’t have to tear everything down to look for noise/connection issues