This is a wiki feel free to add by editing this post
Hardware to get you started
- raspberry pi 3b
- USB keyboard
- microsd card
- MIDI controller - korg nanokontrol 2 or 1 work well
- USB thumb drive
- USB camera - this is what I use works across the devices
- USB input device - this one works across all devices for me
- composite output cable - this isn’t the one I bought but I can’t seem to find it anymore sometimes you may have to use the red output instead of the yellow if you are having trouble
- raspberry pi power supply - look for 5.25v or else you’ll end up seeing the low power lightning bolt show up on the RPI
General setup overview
all the githubs will have information about how to put together your synth
essentially you will be doing one of two things
1 Slower
- download an image
- burn it onto a microSD card
- put microSD card into your RPI
- plug hardware (webcam, keyboard, output etc…) into RPI
- turn it on
- play
this can take a long time depending on your internet provider as the file is at least a couple gigs
2 Faster
- after having already done #1 previously
- download source from github to RPI
- put download in the myapps folder of openframeworks
- “cd” to openframeworks folder where app resides via terminal
- “make” via terminal
- “make run” via terminal
you can also setup a .sh script like this in order to cut out the last three steps of 2
you could setup the above script to move the download for you too. I’ll have to mess with that and double check it but will post it up here once I do. If that works then you’ll be able to cut out the last four steps of 2
and then setup a .sh like this to keep on the desktop to facilitate easy switching between apps
@respirator
Scrawl

Scrawl is a standalone RGBA shape generator/positioner/video painting/slit scanner with MIDI/keyboard and mouse control for the Raspberry Pi (currently using 3b+(old hardware version)/3b).
if you are loading the latest image it will include several other apps installed (all also listed here) with .sh files on the desktop to switch between them (press escape to get to the desktop once it has booted)
-
Image compressed (mac) (says spread.iso instead of scrawl.iso)
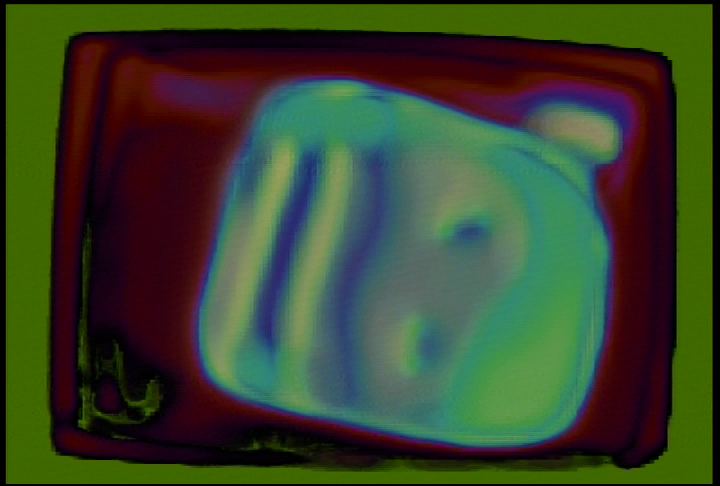
Spread
this colorizer was originally based off one from R_E_C_U_R it has grown considerably now!
the format moving forward is two multi mode colorizers mixed via video mixer with many modes
image file is the same as scrawl for now just press escape once booted and switch to spread via the spread.sh file on the desktop
Spectral_Mesh
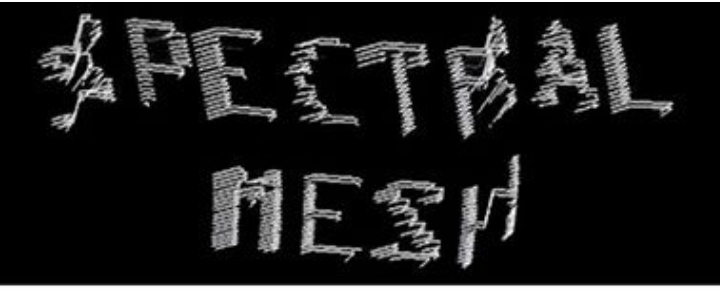
a scan processing inspired video resynthesizer for the waaave pool rpi distro
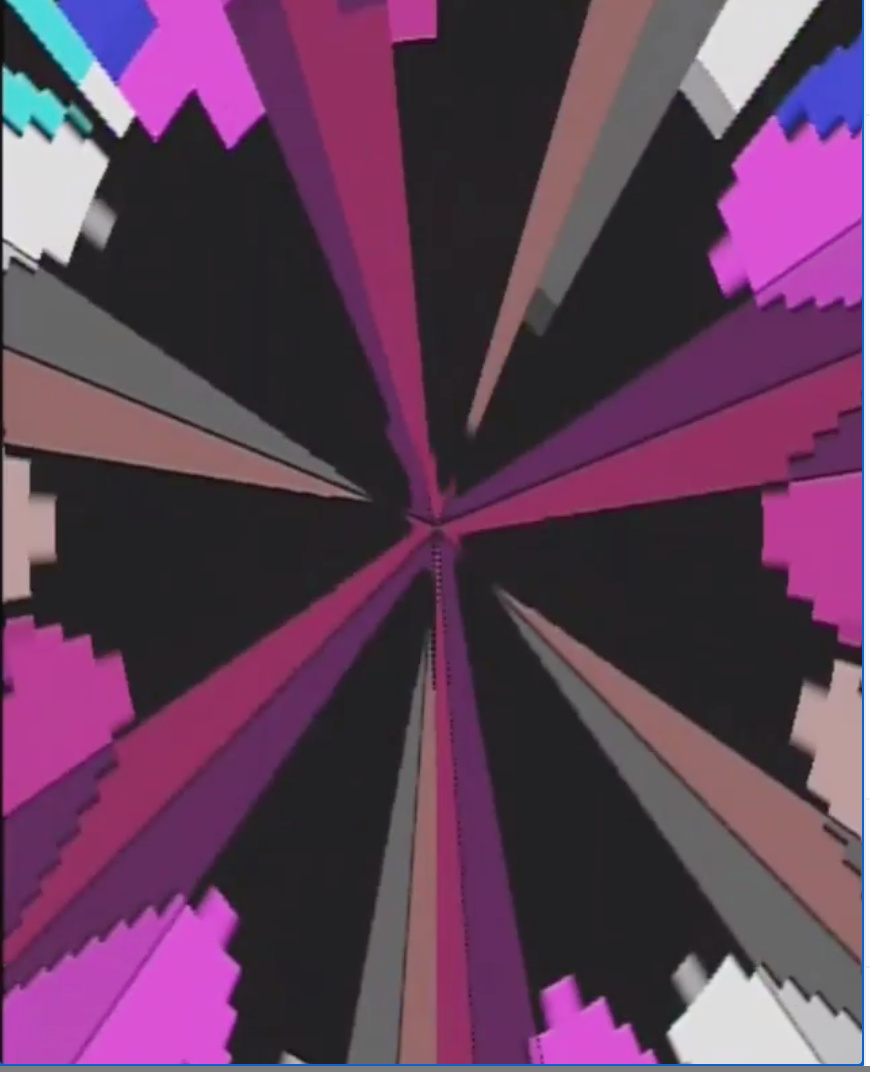
Waaave_pool
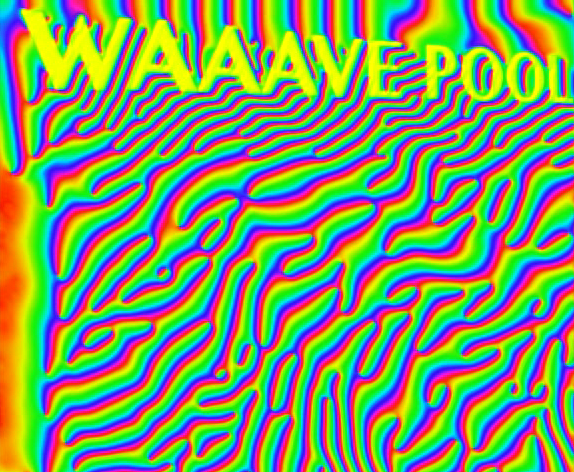
a port of video_waaaves to raspberry pi
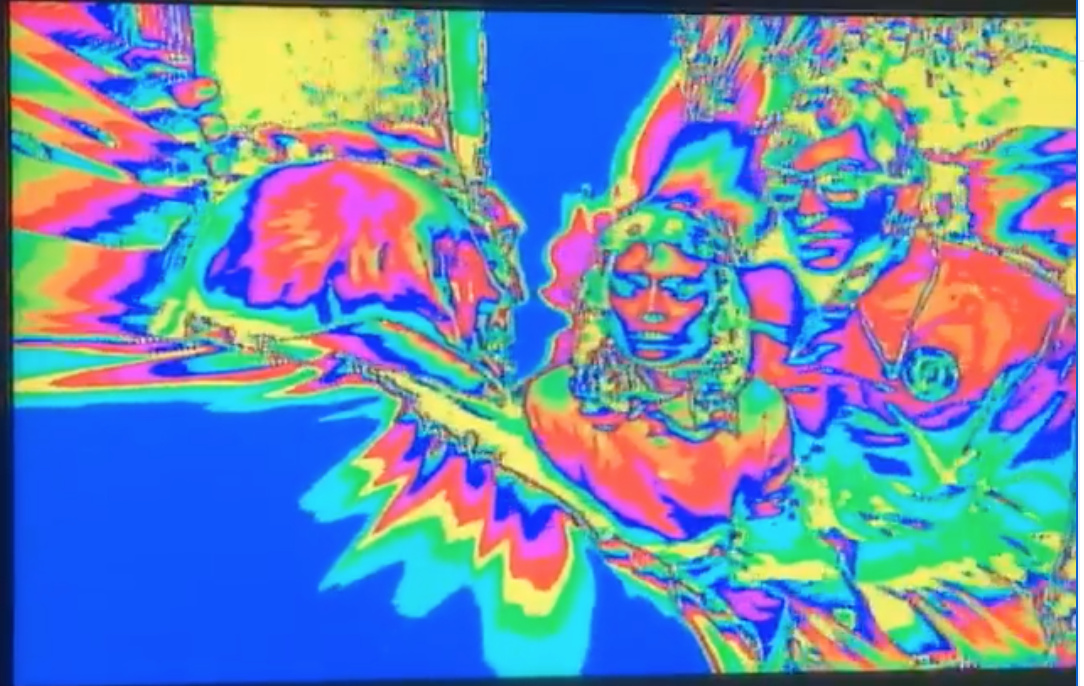
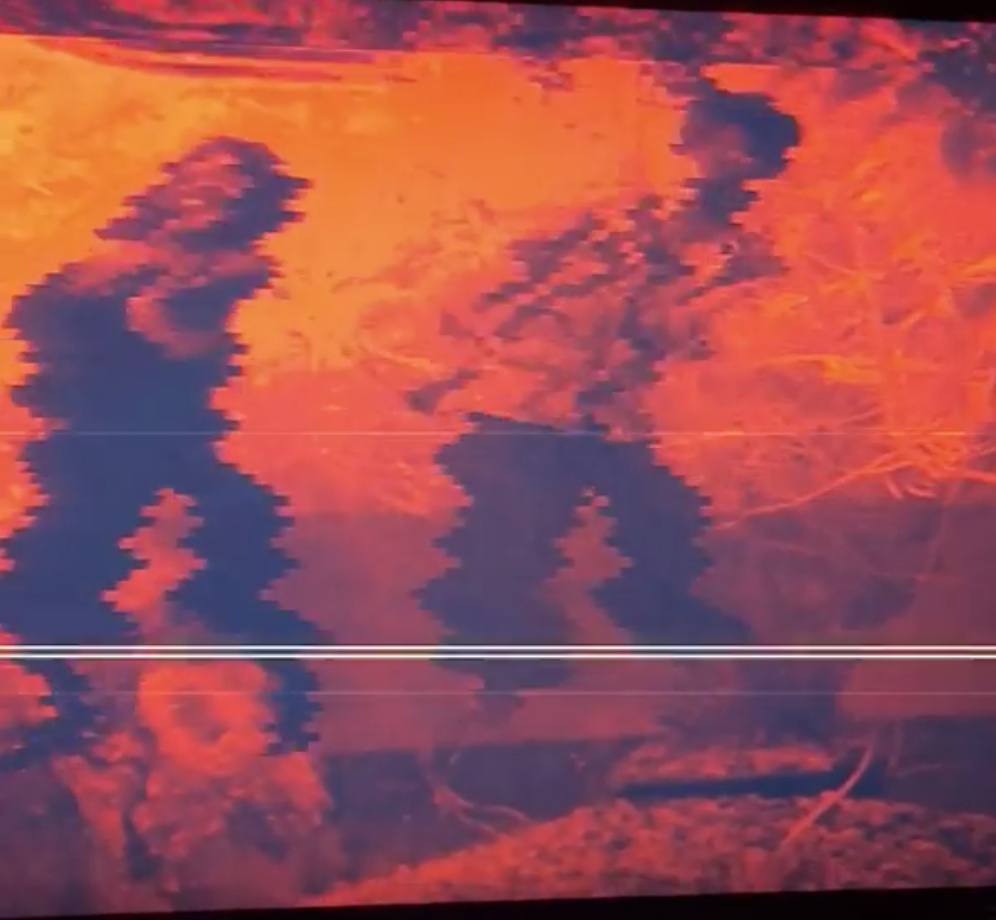
Chromatic_aberration1_the_search_for_sasquatch
a helpful 4 band colorizer/solarizer specially optimized for filming bigfoot
SUPER_HAECKEL_ADVENTURES_64
A superformula based freeware video synth for the waaave_pool raspberry pi distro
Phosphorm
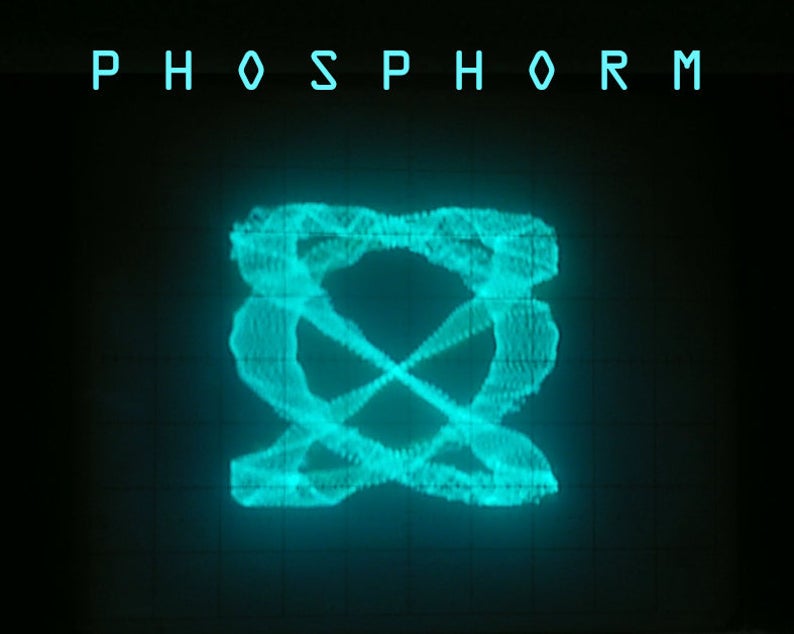
an audio visual synthesizers optimized for x-y oscilloscope displays for the waaave pool distro
Strange loop

The Strange Loop is a digital feedback processor based on openFrameworks and the Raspberry Pi.
r_e_c_u_r

an open diy py/pi based video sampler
Recurboy
a pi0 video-instrument designed for diy workshops
ofxPiMapper
projection mapping software that runs on the Raspberry Pi
Super Pikix Pi
A software to mix videos on the Raspberri Pi computer
bzzzbz

video synthesizer that dynamically reacts to an audio input to create images and visuals that can be manipulated for integrated audio-visual performances.